Backyard Wreath How-To
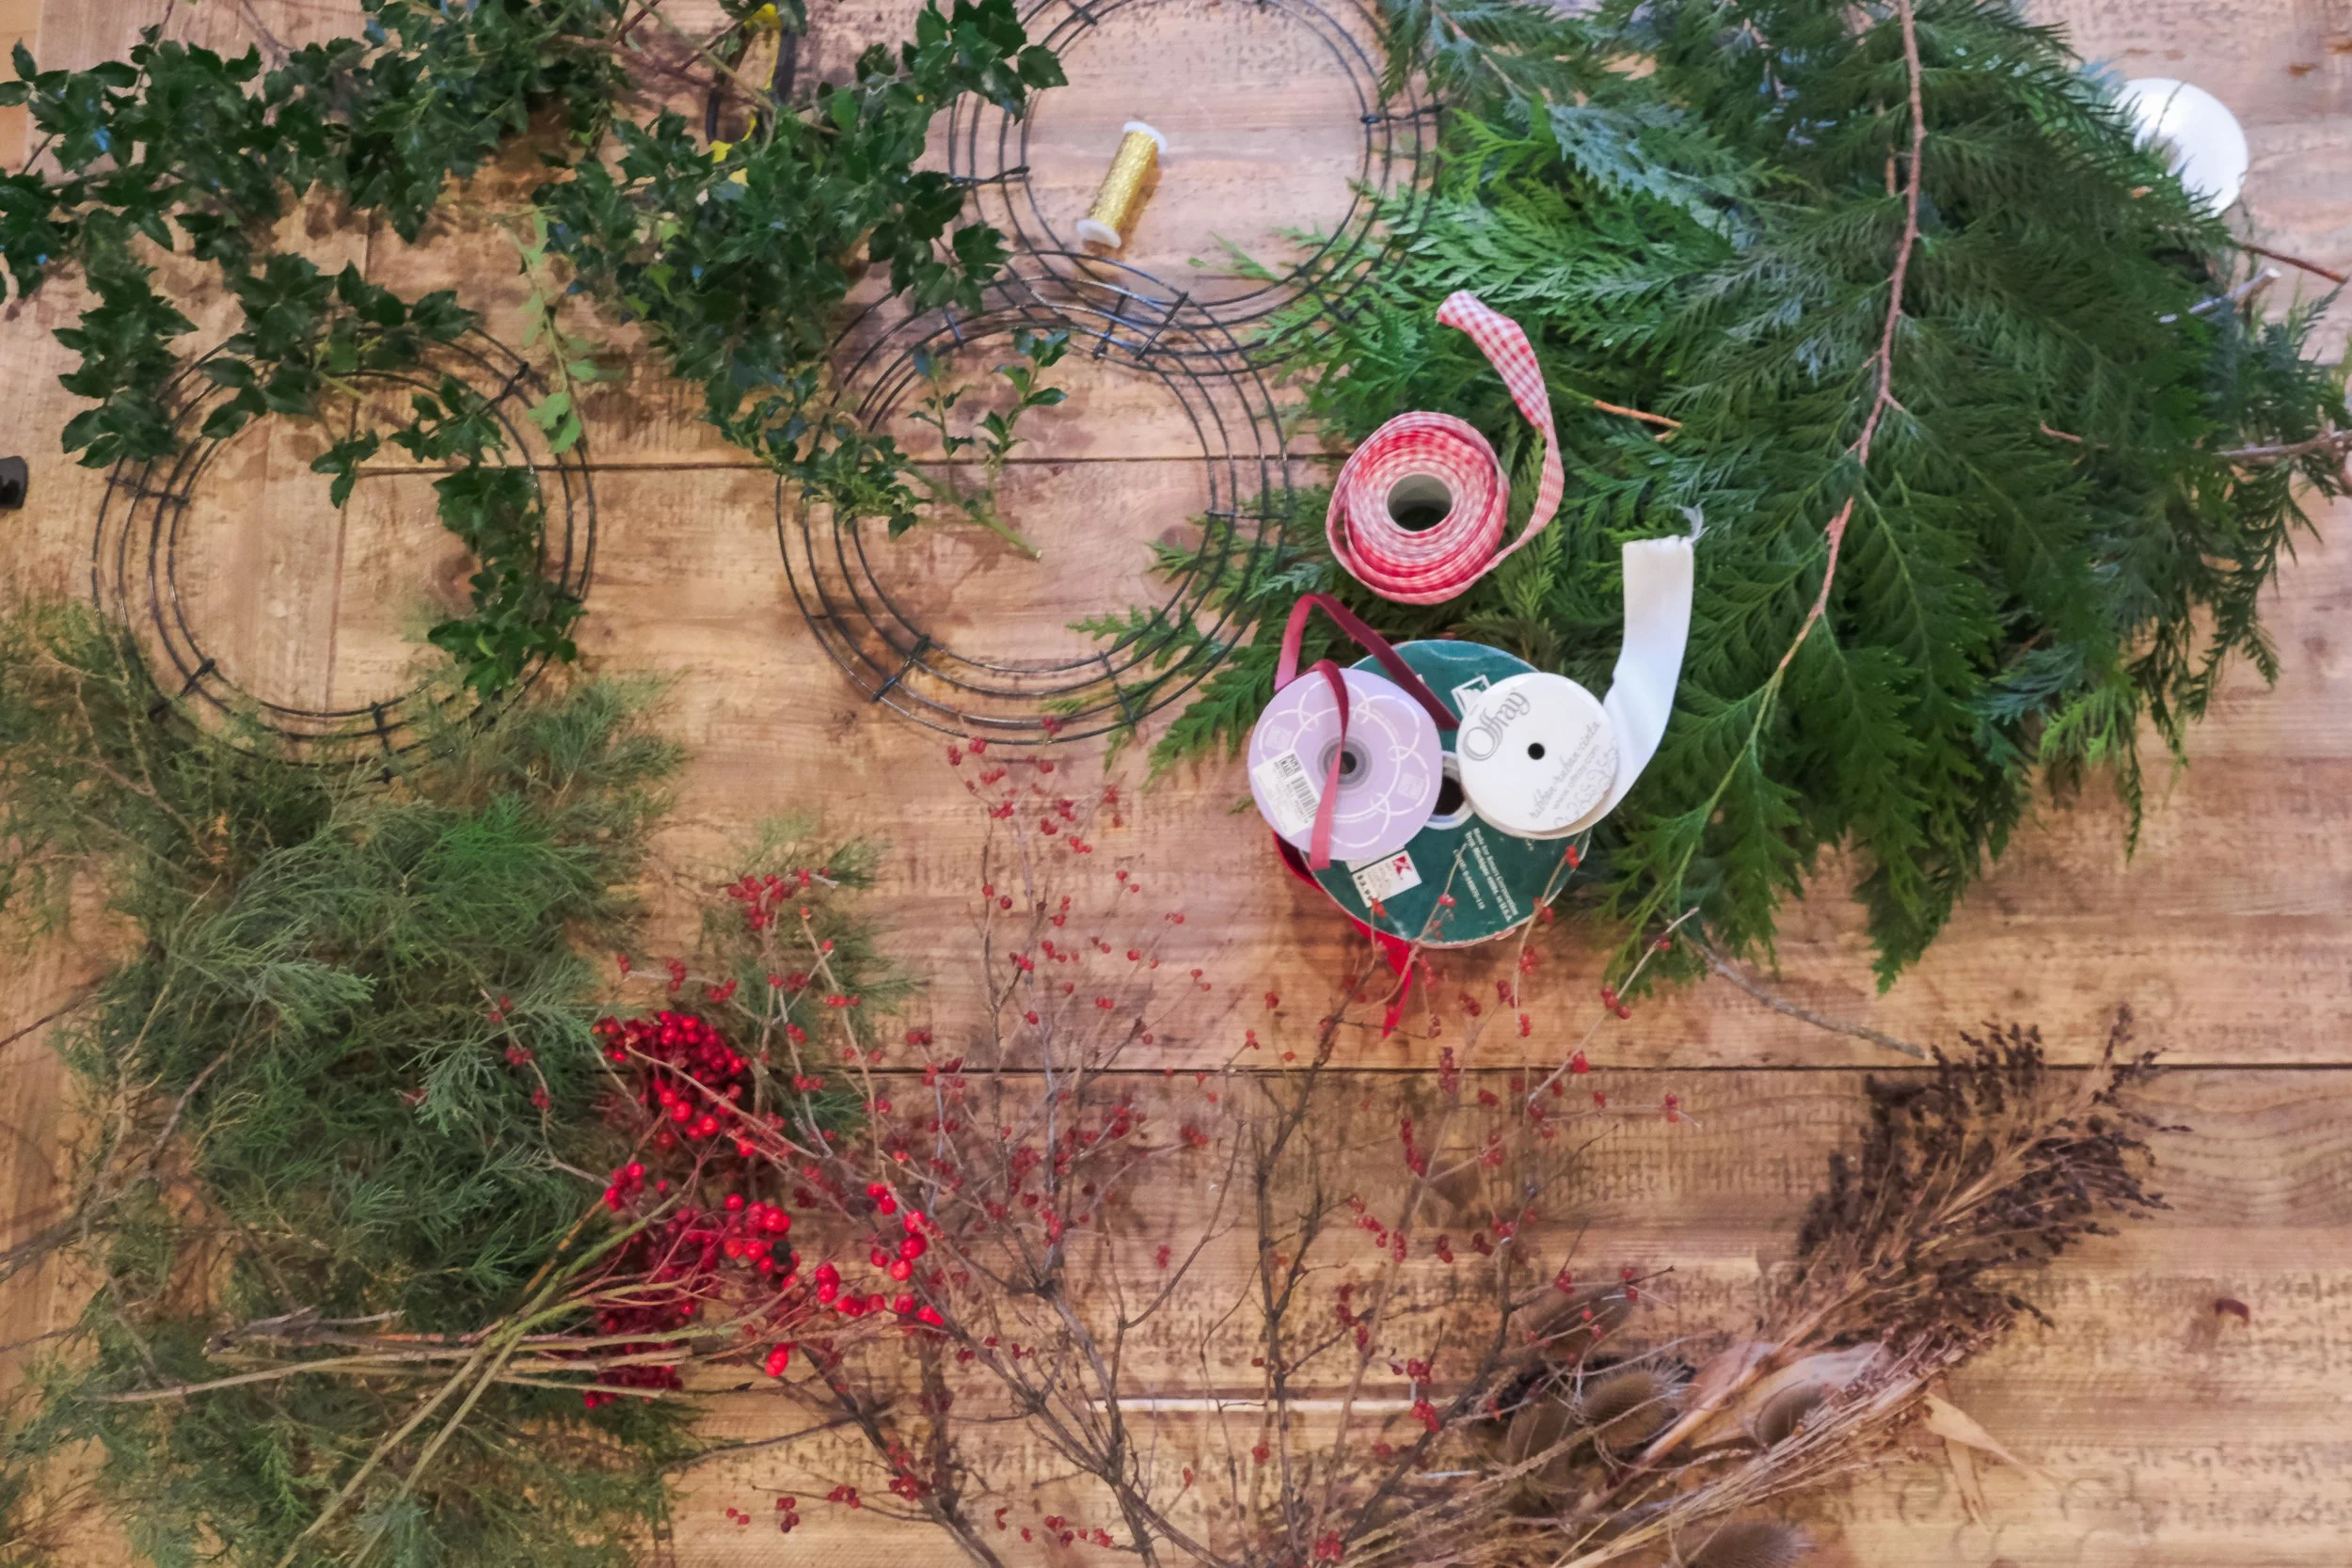
Christmas wreaths can grace doors, walls, windows or even be hung horizontally and used as “chandelier” above the dining table! For this wreath, head to your backyard (or a friend’s!) and clip a bunch of different kinds of greens. Other things can be added - so look around at branches that might have berries, fun colors, dried and dead items from the garden, pinecones, etc.. If you’re unsure of what to mix and match, start with one kind of green; all cedar or all pine and get a feel for the assembly process. From there you can branch out and do another one with more things added in! I would challenge you to do it with items all scavenged and see what you can come up with! We’d love to see what you design, so be sure to send us a picture or tag us in a picture @kestrelrealtygroup! - Kathryn Church


Step by Step
Supplies:
1 - Wreath Form (sizes can range, but these can be purchased at craft stores, Walmart, etc)
A double handful of assorted greens from your backyard
Floral wire
Clippers
Gloves
Ribbon
Instructions:
Separate out your varieties of greens and extras. Trim them into smaller sizes (around 4-8 in in length depending on the diameter of your wreath and how large you want the finished product’s diameter to be)
Place the wreath frame on the table - with the indented side down.
Attach one side of the floral wire to the frame, twisty-tie style.
Grab a few items and bunch them together. Place bunch at a 45 degree angle, with stems angled on the interior and tips on the exterior. Wrap the wire over the stems and around the outside of the frame coming back up through the center. (With the thickness of pines and such you don’t need to wire each bunch, but for extra security you can wire bunches before attaching them to the frame).
Use a shorter group and place at the opposite 45 degree angle, below the first bunch so you are covering the bottoms of their stems. This angle should be towards the center of the circle. Wrap this next bunch in the same method without cutting the wire. *(variation see bottom)
Continue steps 4 and 5 around the circle. Be sure to add a mix of greens/extra items at various intervals as you go. Pinecones can be wired in later.
When you have made it all the way around the circle, tuck extra pieces to cover the final stems. Cut the wire and use the same method to “twisty-tie” it to the frame.
Add ribbon to hang or a bow and place on a wall or door. You can also wire in the thin copper wire battery powered string lights.
*Variation - to cover front and back of the frame for a thicker/fuller wreath (or one that will be hung horizontally from the ceiling), repeat the exact same 45 degree method of attaching bunches but do it on the front and the back together. Front 45 degrees facing the exterior, back 45 degrees facing interior, back 45 degrees facing exterior, front 45 degrees facing interior. Repeat as before until you get to the end.
